How to Build a Voiceover Studio
Here is what you need to know
This blog covers, in a bit more detail, why it is important to have access to and how to build a Voiceover studio. I didn’t start out with the studio I have today. It’s something I have developed over time and still continue to invest in. Below you will find some ideas as to the actual construction of a studio. In the next blog post I talk in more detail on how to kit out your studio and get started. As ever, if you have any questions please do not hesitate to get in touch.
Why have a studio?
Firstly, I suppose it is important to address why you might need your own studio. When I first started recording voiceovers most of my work was in professional studios in London or Manchester. I didn’t even think about how to build a voiceover studio. Even back then the equipment was still too expensive and producers were stuck in a traditional way of working. Today over 90% of voiceover work I do is produced in my own recording studio. Setting up a home studio and connecting remotely to another studio is now far more accessible. So, yes you don’t have to have your own personal studio. However you may be missing out on a huge range of work.
Reasons to build a vocal booth
- Having your own booth means you can turn work around faster. Some clients may want a project completed within the hour. They don’t want the hassle of booking a studio, director, producer or engineer.
- You can work at a time that suits the client. Sessions can run late night or early morning depending on where in the world you are connecting to. So, you can easily work with a client on the west coast of America at a time that is convenient for them. Even if that means staying up late for you.
- You can schedule sessions at a time that is suitable for you. It might be when you first start out as a voice artist that you need to work around current commitments. Having your own studio means you can ease your way in to working full time as a voice over whilst still being financially secure with your previous job. Maybe, most importantly, you can work when you want to. Escaping a 9 to 5 and setting a work life balance that’s right for you.

How to Build a Voiceover Studio or Maybe Just Buy a Studio?
There are lots of options should you wish to just buy a studio ‘off the shelf’, including, Vocalbooth; Whisper Room; Studiobricks. These prefabricated units (depending on the spec) may cost upwards of £4000. You may find some second hand options online that are closer to £1200.
The great thing about these units is that they are good to go. They arrive in panels and simply velcro, screw or slot together. They can then easily move with you when you move. It is worth noting their limitations though. Obviously because of their portable nature they aren’t soundproof. Also, because of their, often, 90° angled walls they can sound a little boxy. Take note of their weight as well. If you aren’t placing them at ground level you want to make sure your floor can take the load.
Hire a Recording Studio?
At this point you may be thinking I don’t want to know how to build a voiceover studio anymore. Maybe you should just hire a studio on a job by job basis. The Voiceover Studio Finder website shows you your nearest studio, which may come fully equipped with an engineer to take care of all the technical side of things. Using a google search you may also find a nearby voice artist who is willing to rent out their studio.
Using this method will mean that you don’t have the initial huge costs. You can then use part of your fee for renting a studio and the remainder to invest in your own setup costs.

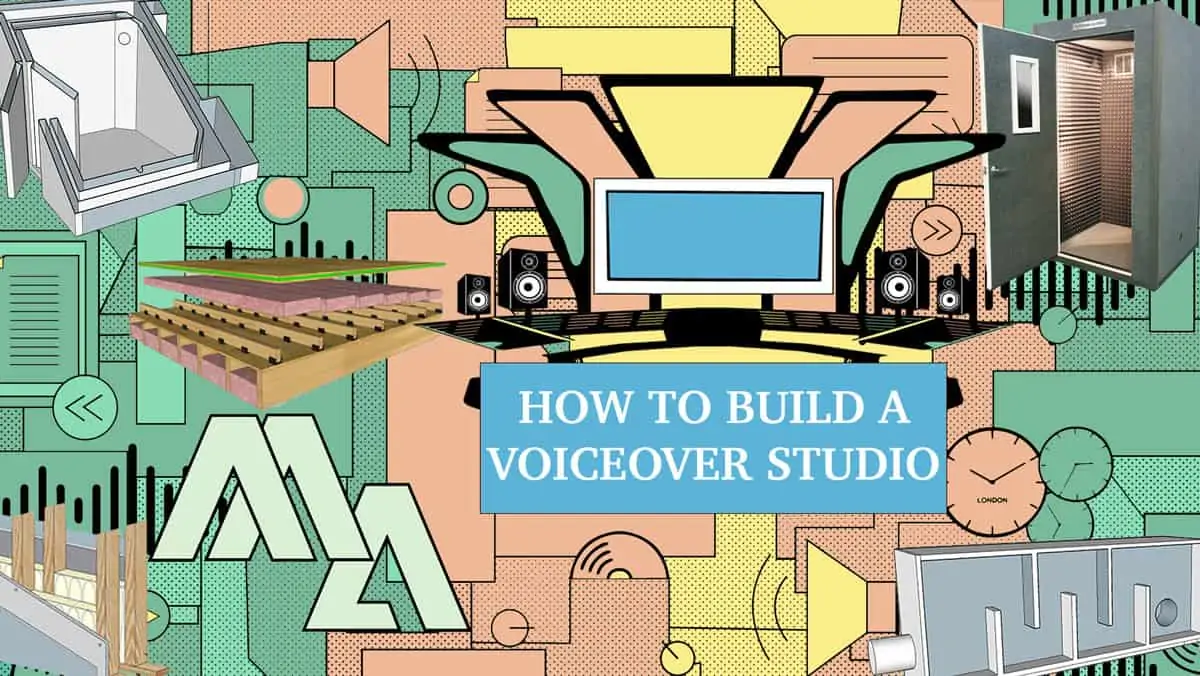
How to Build a Voiceover Studio
The plans above show an example of a self built studio. Lots of recording studios work on the basis of building a room within a room. Sound looses energy when travelling through lots of different mediums. By building two stud walls comprised or chipboard, drywall and rockwool (with an air gap in between) you are giving the sound a lot to compete with. You can see in the pictures that in addition to the two walls there is also two doors with an air gap between them. The internal walls are angled to 45 degrees and the inner ceiling is angled downwards. This is all to help with the distribution of the sound waves.
The great thing about building your own studio is that you can create a bespoke design. Maybe the door has to open a certain way or you are building it in an unusual space. In many cases building your own studio could work out better value for money. You have full control over the dimensions, weight, colour of the acoustic treatment. Maybe you want an electric standing desk to fit in there as well.
If you are daunted about making it yourself you should be able to find a handyman, carpenter or shopfitter who will take on the job for you. Of course there are professional companies out there who will organise this for you but the costs may be much higher. Fellow VO Tom Ellis builds great studios with bespoke elements and you can find some examples of those here.

Above you can see some more detailed elements relating to building a voiceover studio. These are some of the things you may want to think about when designing your own booth.
Ventilation
It won’t be long before your booth gets pretty warm. You are going to spend many hours in your booth so you want to create a comfortable working environment. There are different schools of thought on this. Some voiceovers will simply open the door after takes to allow the room to cool down. Others may install air conditioning and run it in between recordings. Some studios will allow the air conditioned air to run through an acoustically treated box, such as the one shown above. The aim being that the sound is diffused and just the cooler air enters the booth. A ventilation panel will also be used at the top of the booth allowing the warmer air to escape.
Wall Structure
You can see from the middle image a cross section of a studio wall. Whilst lots of mass is important to stop the flow of sound in to the booth, people often forget about the importance of an air gap. By packing a wall full of material you are actually giving the sound something to travel across. The picture shows an example of two walls with an air gap in between. This means the outer wall is not touching the inner wall. The walls are each comprised of a stud wall, with a layer of mineral wool; sound insulating board and drywall.
The windows and doors are often the major source of sound leaking in to the studio. If you are building a voiceover studio you can install some layers of second hand double glazing. You may want to angle the internal glass to avoid sound bouncing directly back in to the mic. Reclaimed fire doors will also do the trick for the double door system, with an air gap in between. As with all self builds you need to pay particular attention to fire standards and safety.
Floating Floor
The last picture shows a floating floor that forms the base of your studio. The rumbles and grumbles of the outside world will often enter the booth through the floor. Using a floating floor effectively detaches your booth from its surroundings. Using a combination of joists, rubber joist isolators, fibreglass insulation, sub flooring and lots of green glue, you can stop those lower frequencies traveling up through the floor in to the booth.

No Half Measures
You will see hundreds of voice over ‘problem solution’ options that may seem tempting. You can see a few of these above. This is my personal opinion (I know people would argue differently) I simply wouldn’t waste my time or money on these items. In many cases these options are not cheap and they don’t have a great benefit to your end product. The client will also know that you are not recording in a professional environment. If you are planning to become a full time voiceover artist these items will not help you out in the long term. Invest in your career and you will see a real return on that investment.
How to Build a Voiceover Studio – FAQ
Below you will find some questions that I have been asked regarding How to Build a Voiceover Studio. As always if you have any other questions or want to get in touch please do not hesitate to do so. You can find my contact form here.
If you are going to build a VoiceOver studio there are lots of details to think about. Firstly, where to put it. The weight of the booth is going to be a major factor. Locate floor beams and assess load weights before starting. If in doubt consult a structural engineer.
You want the booth to be out of the way. It’s best not to be on a thoroughfare. People passing by or kitchen doors slamming might get picked up by the microphone. Is the front or the back of your house quieter? Maybe you have a busy road passing the front of your house or a noisy dog in the neighbours back garden. Take the time now to assess different parts of your home at different times of the day.
Within the house itself think about any plumbing and electricity. Being close to the boiler might be nice in the Winter but you’ll soon live to regret it in the Summer. Where is the power supply? You don’t want to be running cables round the house. You also want a good clean power supply. No daisy chaining extension cables.
You are looking for a site that can provide a low noise floor and a consistent environment.
Your recording studio is never going to work in a noisy environment. As soon as you turn up the signal to hear the vocals adequately you will also be turning up the noise floor. The noise floor is the sound of everything in your recording environment other than the signal you are trying to capture. This is one of the main factors you will be thinking about when you decide to build a voiceover studio.
Every electronic device produces noise. The noise floor will also include any sound that you have not isolated from outside of your booth. Low frequency rumbles can easily show up within your recordings. The grumbles of a lorry going past or a plane flying over head, These lower frequencies can be cut out using a high pass filter but try your best to eliminate as many sound issues as you can at their source. The more work you put into the design and location of your recording studio the less work you will have to do in post production.
Sound proofing is also sometimes known as sound isolation. This is a barrier between any unwanted sound source and the microphone. Don’t confuse acoustic foam tiles as sound proofing. They will not prevent sound from entering the booth. Foam tiles and acoustic panels are used to line the interior of the soundproof booth you create. This sound treatment is used to control the reverberations of the sound within the recording studio.
Some computers are not suitable to use within a vocal booth because of their fan noise. Many voiceovers will house their computers outside the booth. They can then mirror the screen to an external monitor within the booth. A wired or wireless keyboard and mouse is used to control the computer from inside the booth.
If your design permits, natural lighting is always going to be preferable. If this isn’t possible a low energy, non heat producing LED light will work. Phillips Hue can produce adaptable lighting that can be easier on the eyes for long sessions.
Ideally you want a direct source of clean power in to the studio. An incorrect power supply can cause interference with the recording equipment. If you experience any problems a power conditioning unit can solve the problem. Additionally, after all the effort you have gone through to soundproof your studio you will need to ensure no air gaps surround the cables that are entering your booth. Rubber or foam seals will easily solve this problem.
There are different options when buying a new booth. Maybe you are just buying the materials and building the studio yourself; maybe you are paying someone to build it for you; or you may be buying a ‘ready to go ‘ option such as StudioBricks. You can expect to spend anywhere between £1000 – £5000+ on a Voiceover booth.
Of course there are filters and software that will rid you of hums, bangs and pops. You will save yourself time in the long term if you plan and build a consistently great sounding vocal booth. A £2000 microphone will never sound it’s best in a terrible recording environment.
What’s next…
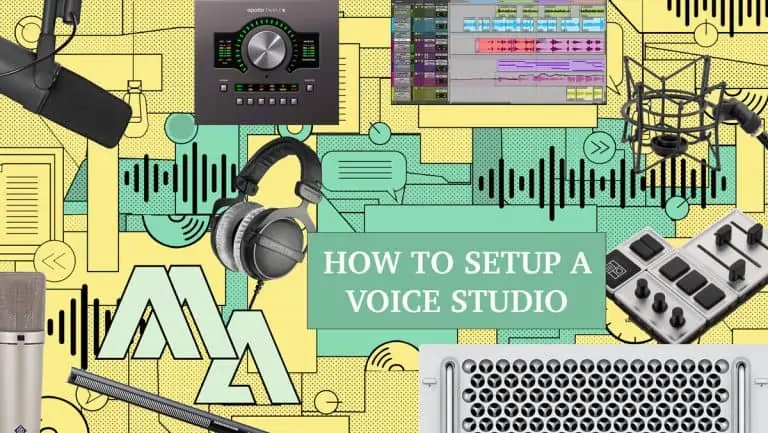
The next blog post will look at How to Setup a Voiceover Studio.